Total Control Accelerator 3 offers a large variety of built-in icons and Icon Expansion Packs that enable installers to add a higher degree of personalization & customization to projects and the various URC Graphical User Interfaces (GUI's).
This article details Changing Device Label Colors for icons in Accelerator 3 to achieve a desired color palette or customized look.

Changing Device Label Color
All Custom device icons, main menu icons, & submenu icons have a background color which we call “Device Labels”. Each graphic, whether found in the Accelerator or part of the expansion pack, has a default color. Each color can be customized to any color in the hex value spectrum.
Don't know what a "hex value" is? Check out this page: https://www.color-hex.com/#
Note: The steps shown below assume that you have installed the Graphics Expansion Pack or the Flat Vector Icon Sets. You can get these expansion packs on the URC Dealer Portal:
Download the Total Control Graphics Expansion Pack from the URC Dealer Portal (You must first be logged-in to download the file).
Download the Total Control Flat Vector Icon Sets from the URC Dealer Portal (You must first be logged-in to download the file).
To change the “Device Labels” (background colors) do the following:
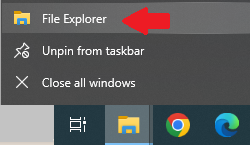
Step #1 – Open the Windows File Explorer by clicking on the File explorer folder or by right-clicking and selecting File Explorer. This process may vary depending upon your version of Windows OS:

Step #2 – Find and click the Local Disk on your PC. (This is the disk where all your computer programs are installed)

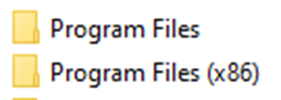
Step #3 – Open the folder labeled “Program Files (x86)”. If you do not have this folder, then select “Program Files”
Step #4 – Open the “Universal Remote Control” folder

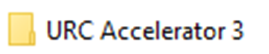
Step #5 – Open the “Accelerator 3” folder
Step #6 – Open the “Clients” folder

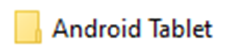
Step #7 – Open the “Android Tablet” folder
Step #8 – Open the “DevImages” folder

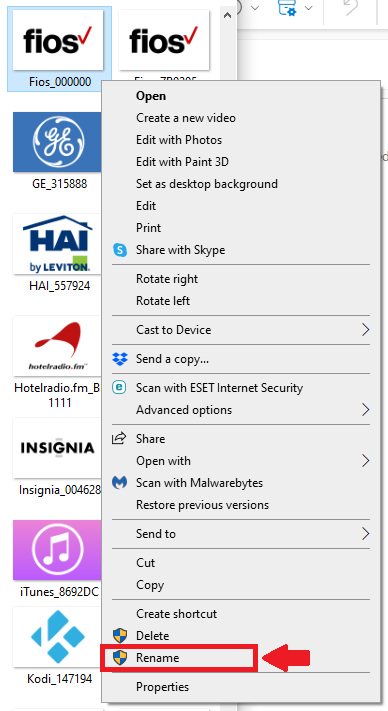
Step #9 – Find the image you would like to change the color of, right-click & then select Rename:
Note: It is recommended to first make a copy of the original image and then change that copied image, but it's not required.
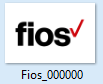
Step #10 – Click on the icon name and make sure an Underscore ( _ ) separates and is followed by the hex code that represents the desired color.
The Fios icon below is already named "Fios_000000" (000000 = hex color black)
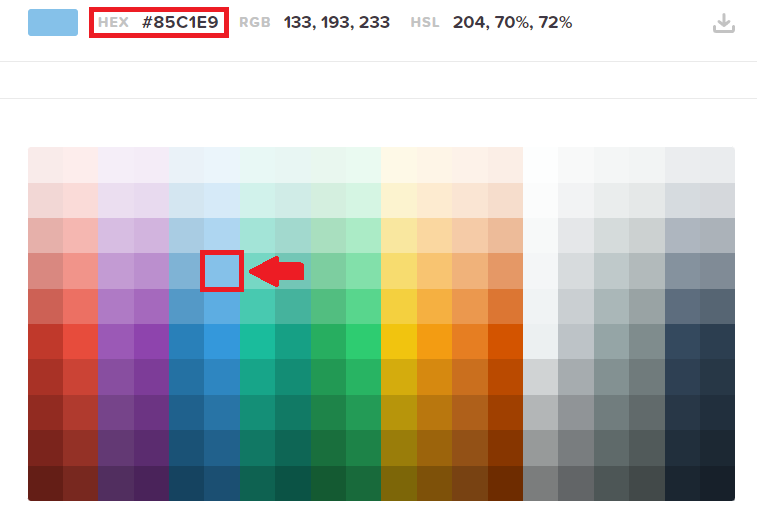
Step #11 – To change to the color you desire, you will first need to determine the hex color value. Using the website https://htmlcolorcodes.com/ for example, you can determine the hex color value for the selected blue color. The hex value is shown in the highlighted red box as "85C1E9". This is the value that will need to be entered after the underscore in the icon name. So, the "Fios Icon_000000" would need to be changed to "Fios Icon_85C1E9" (no quotes used!)
Step #12 – After the icon name is changed to "Fios Icon_85C1E9" (no quotes used!)

Example
As an example, by using the above procedure, we would be able to change the look for the Device Label Colors to a similar looking color palette for all icons.
Note: For this example, main page icons were used. However, the process is the same when changing devices (cable box, TV, DVR, Bluray, etc).
BEFORE:
Note the layout and color scheme prior to changing. All of the Device Label Colors are different.
As shown below, the Security icon is using hex value FE0952, the Entertainment icon is using hex value 3A50AD, the Music icon is using hex value 069683:
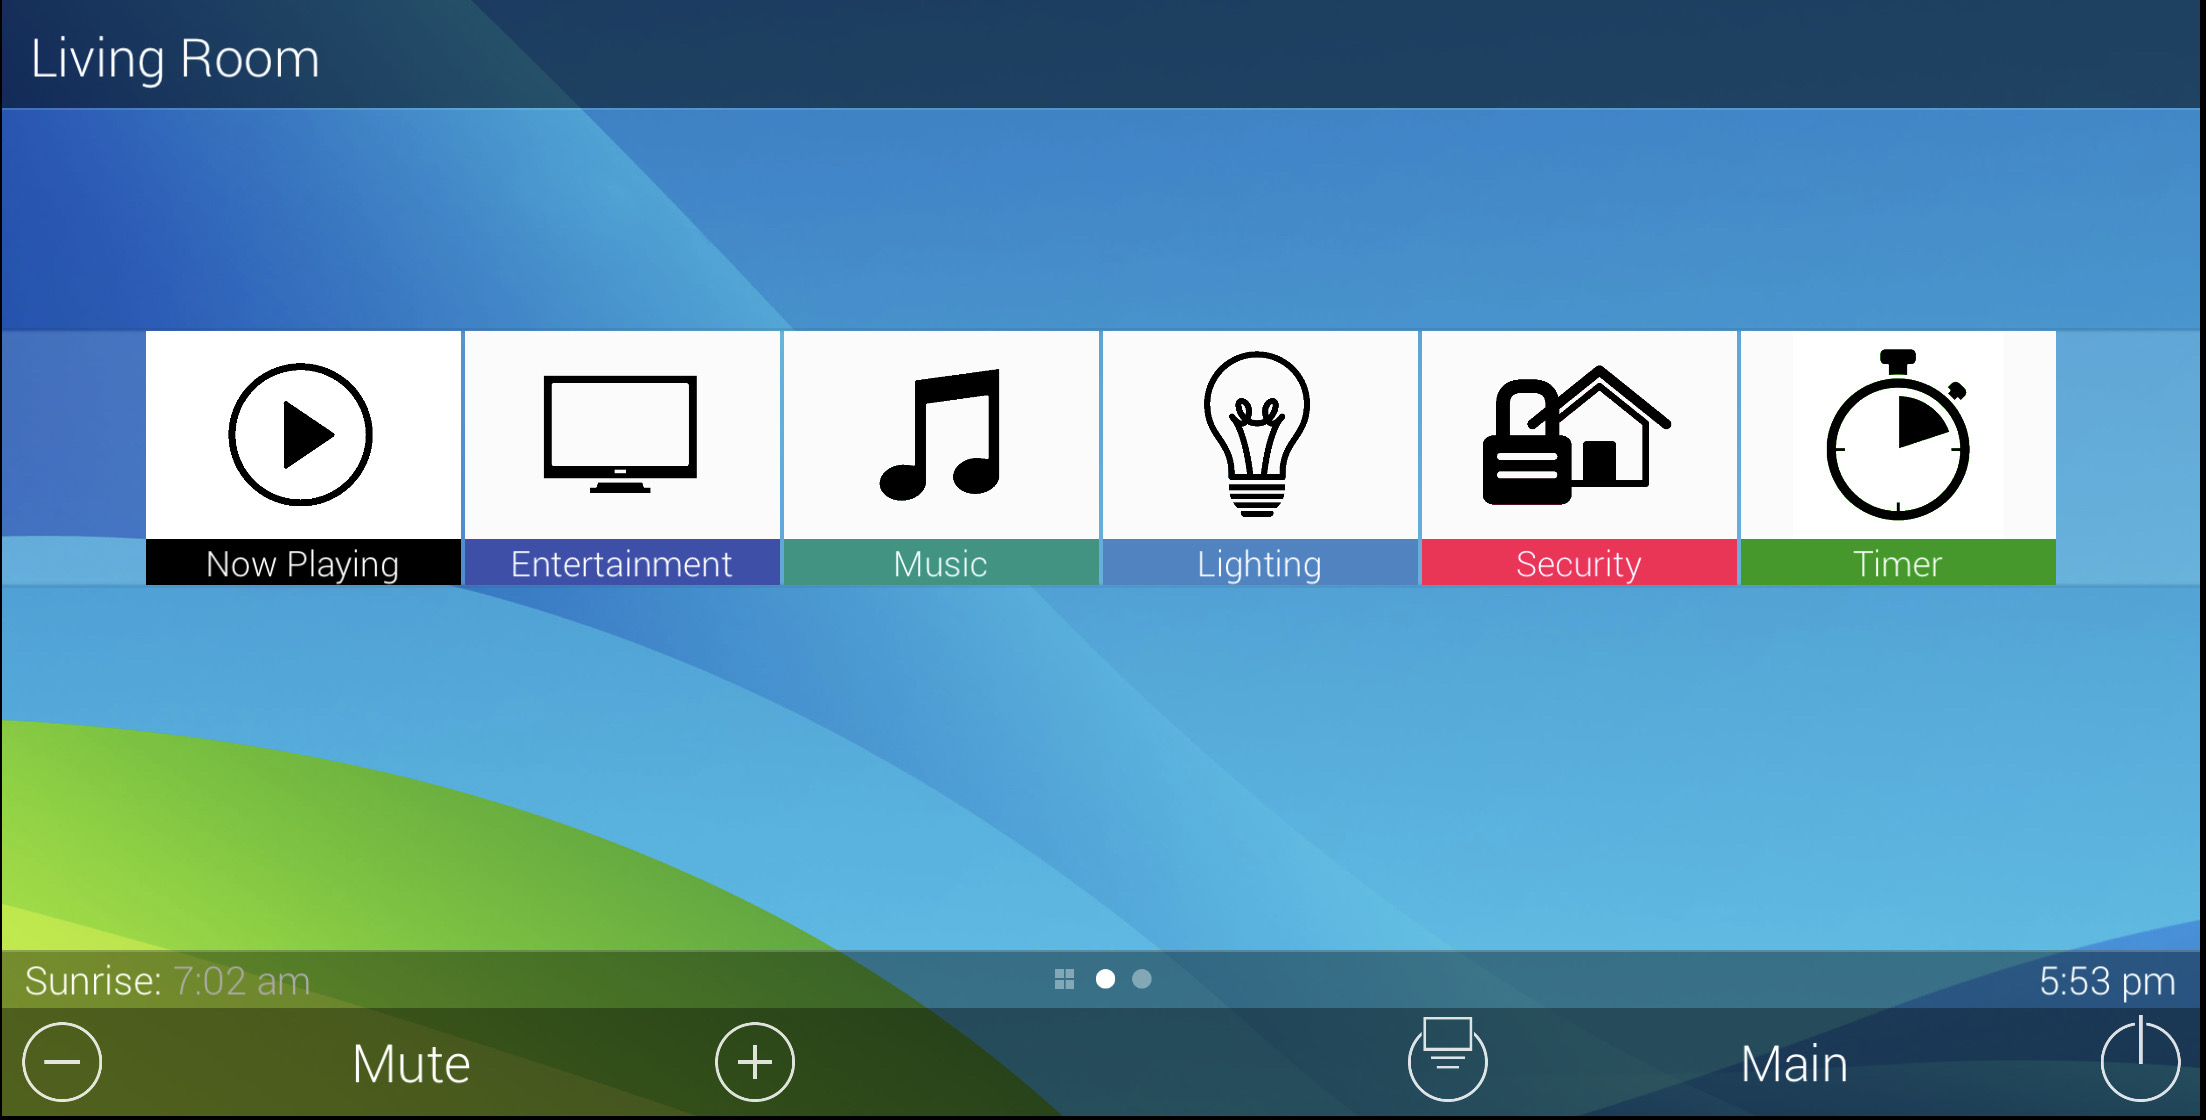 Landscape Mode using various hex values
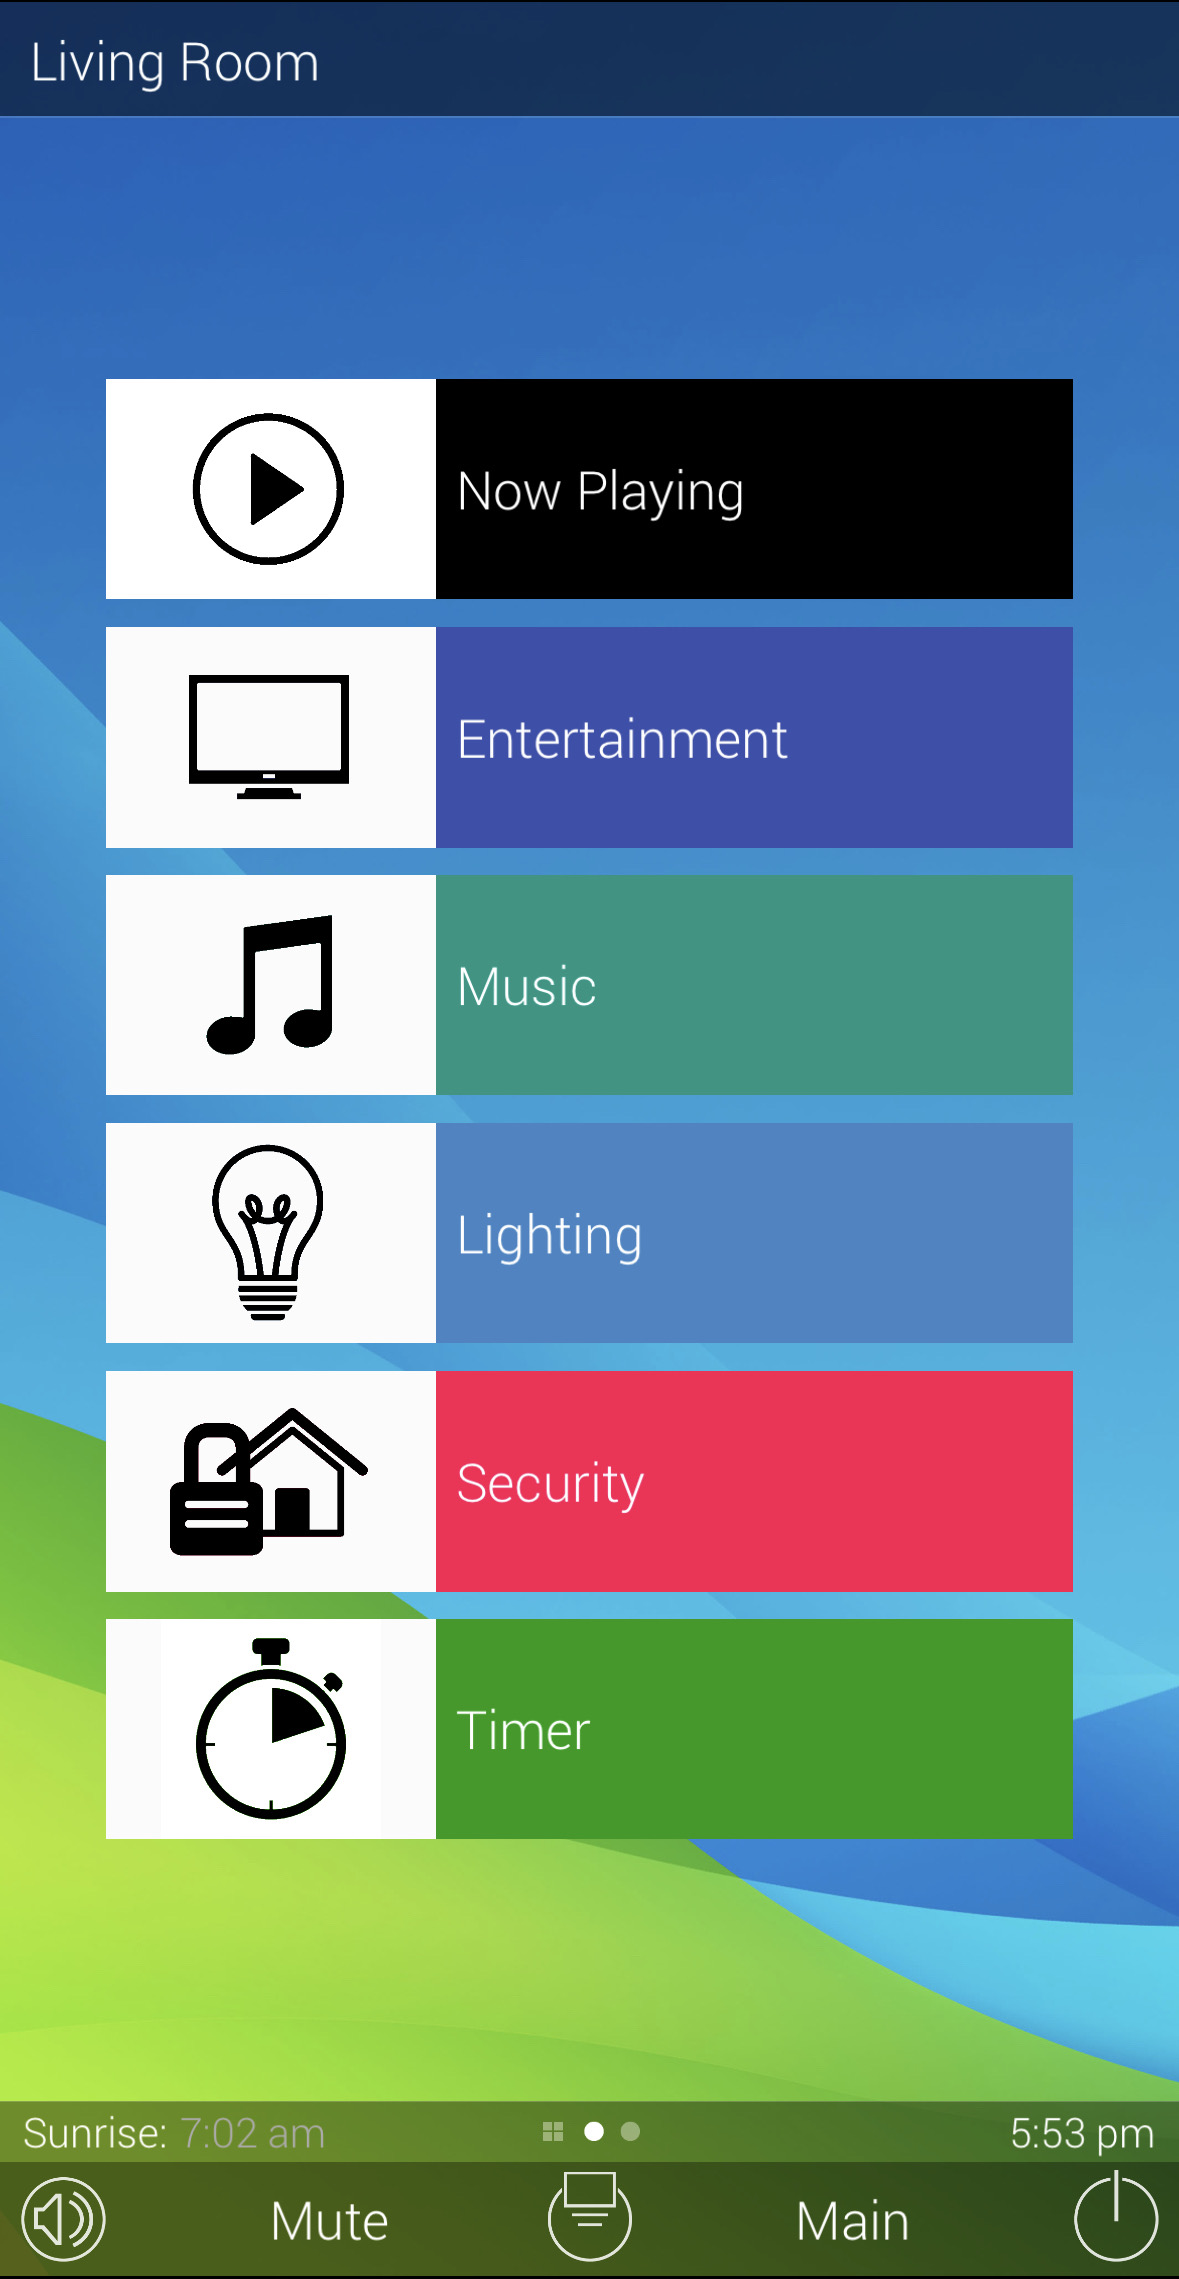 Portrait Mode using various hex values
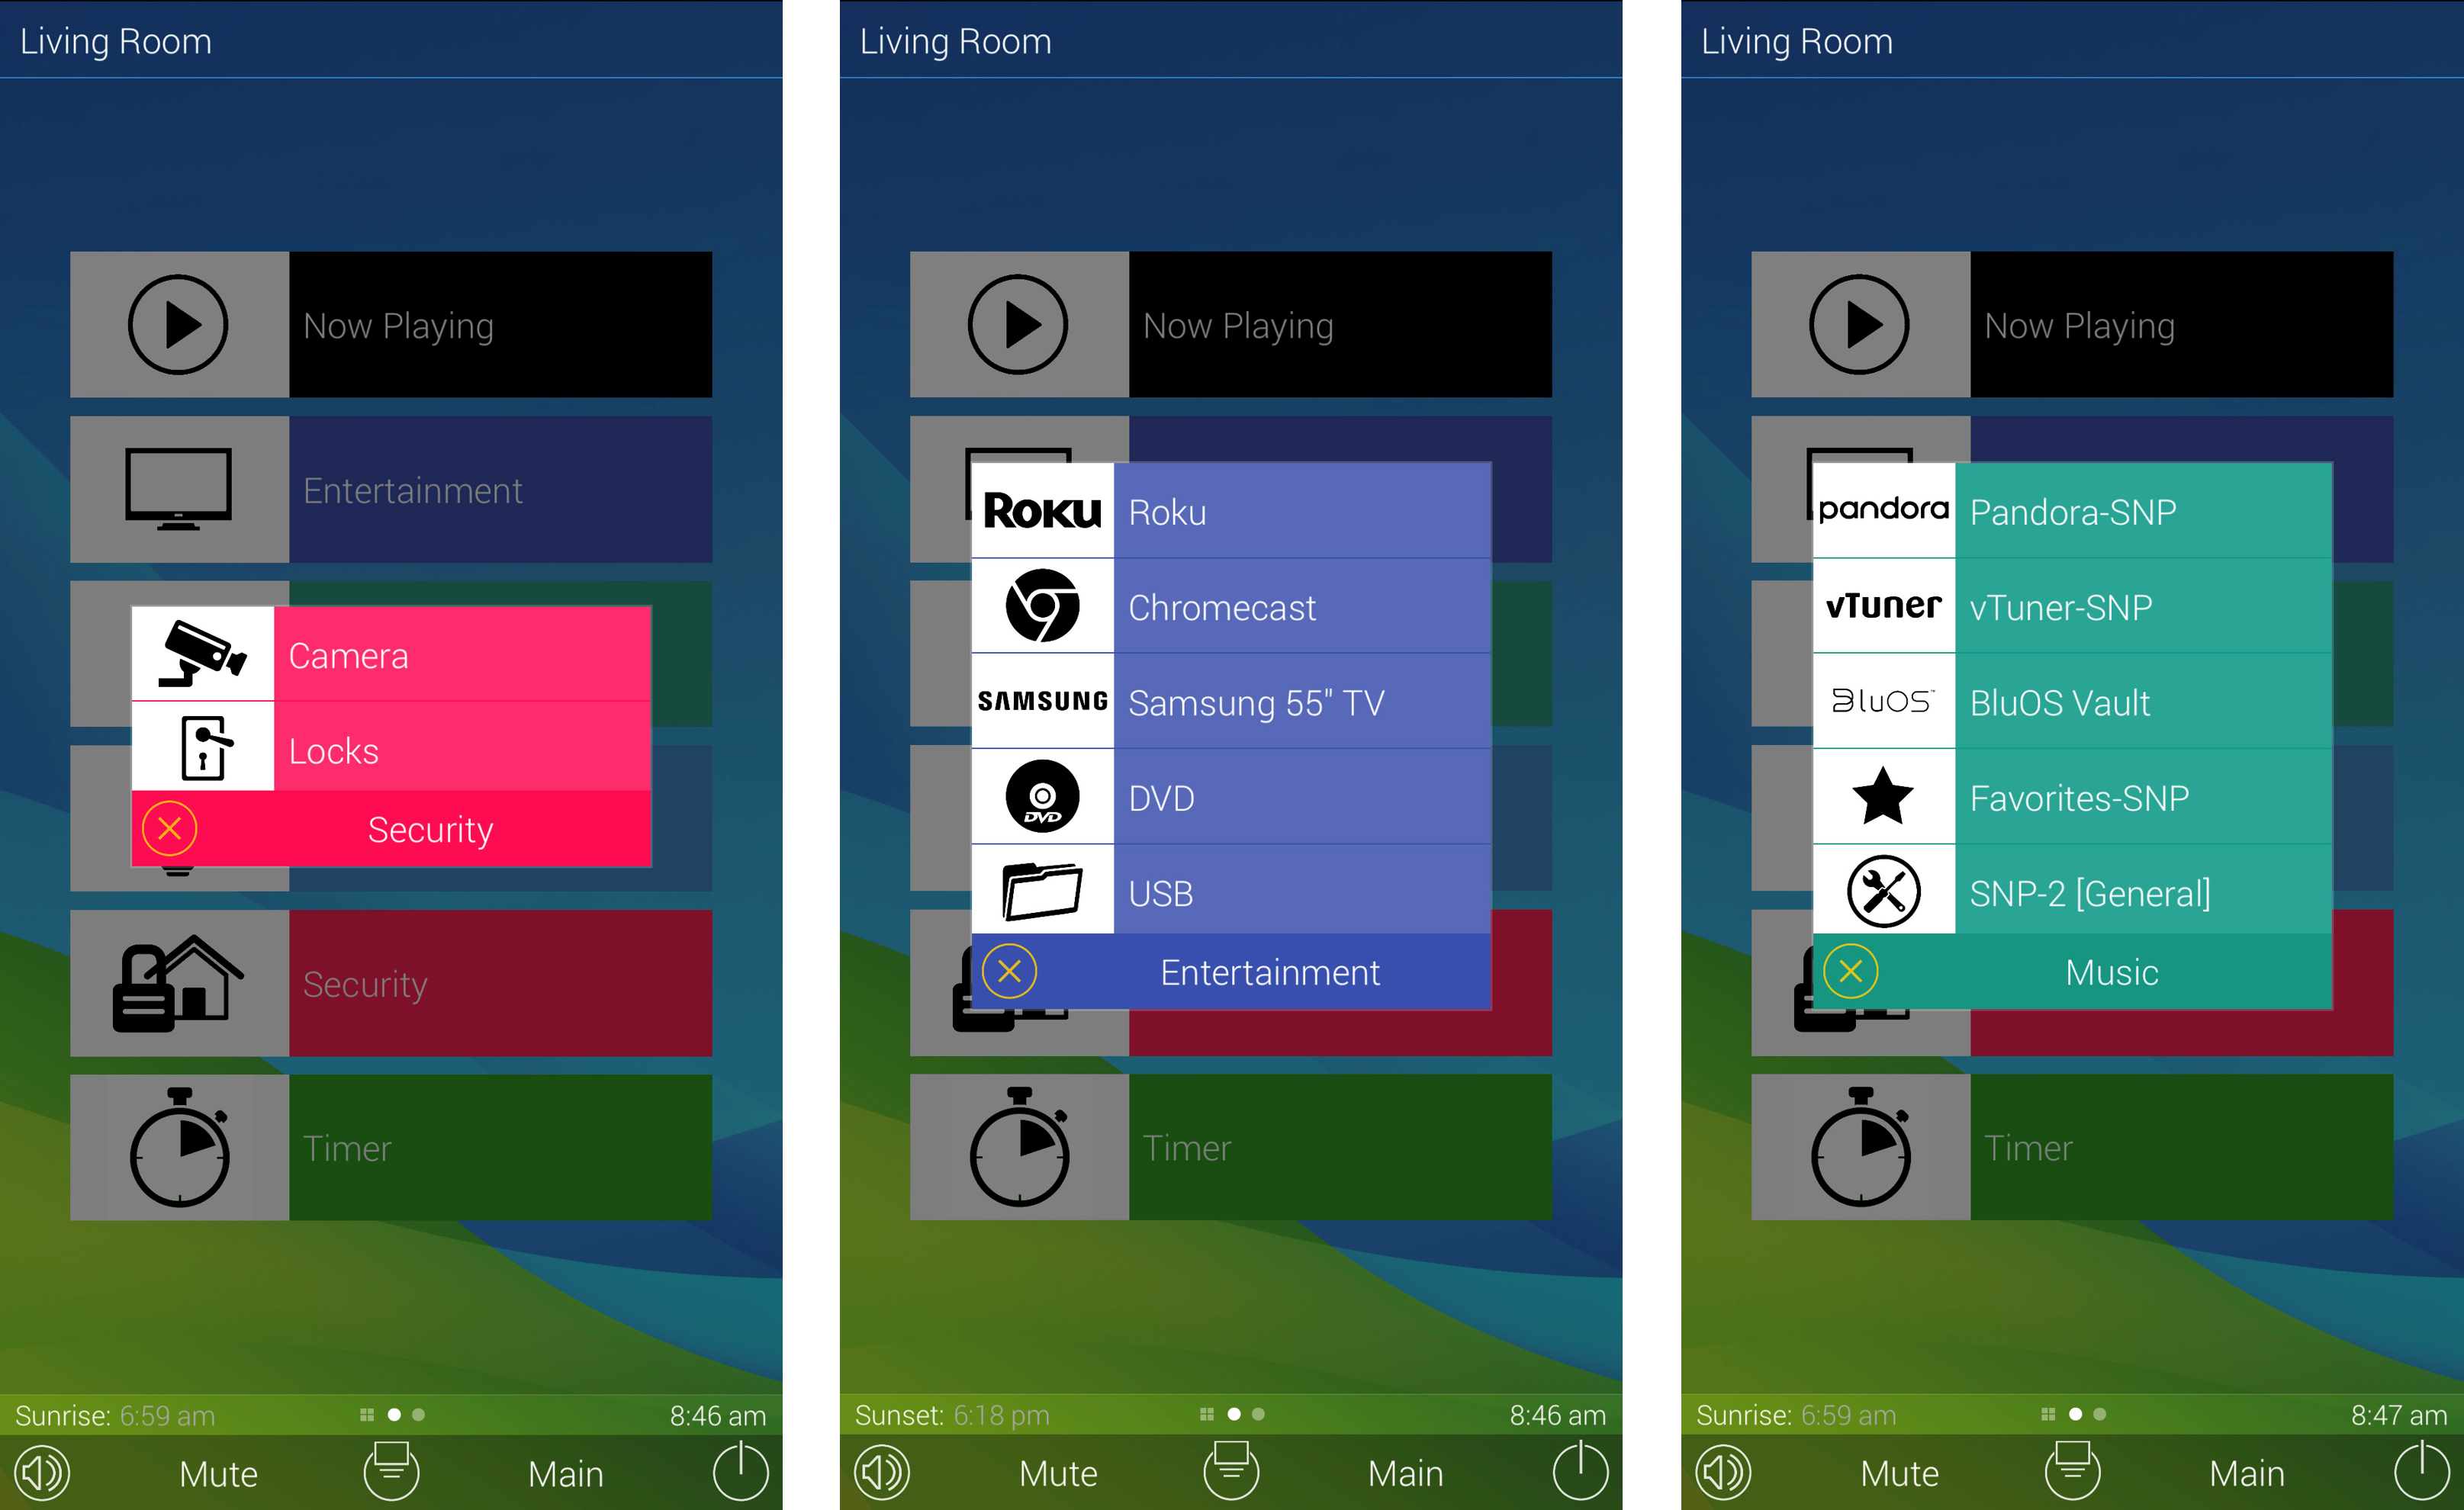
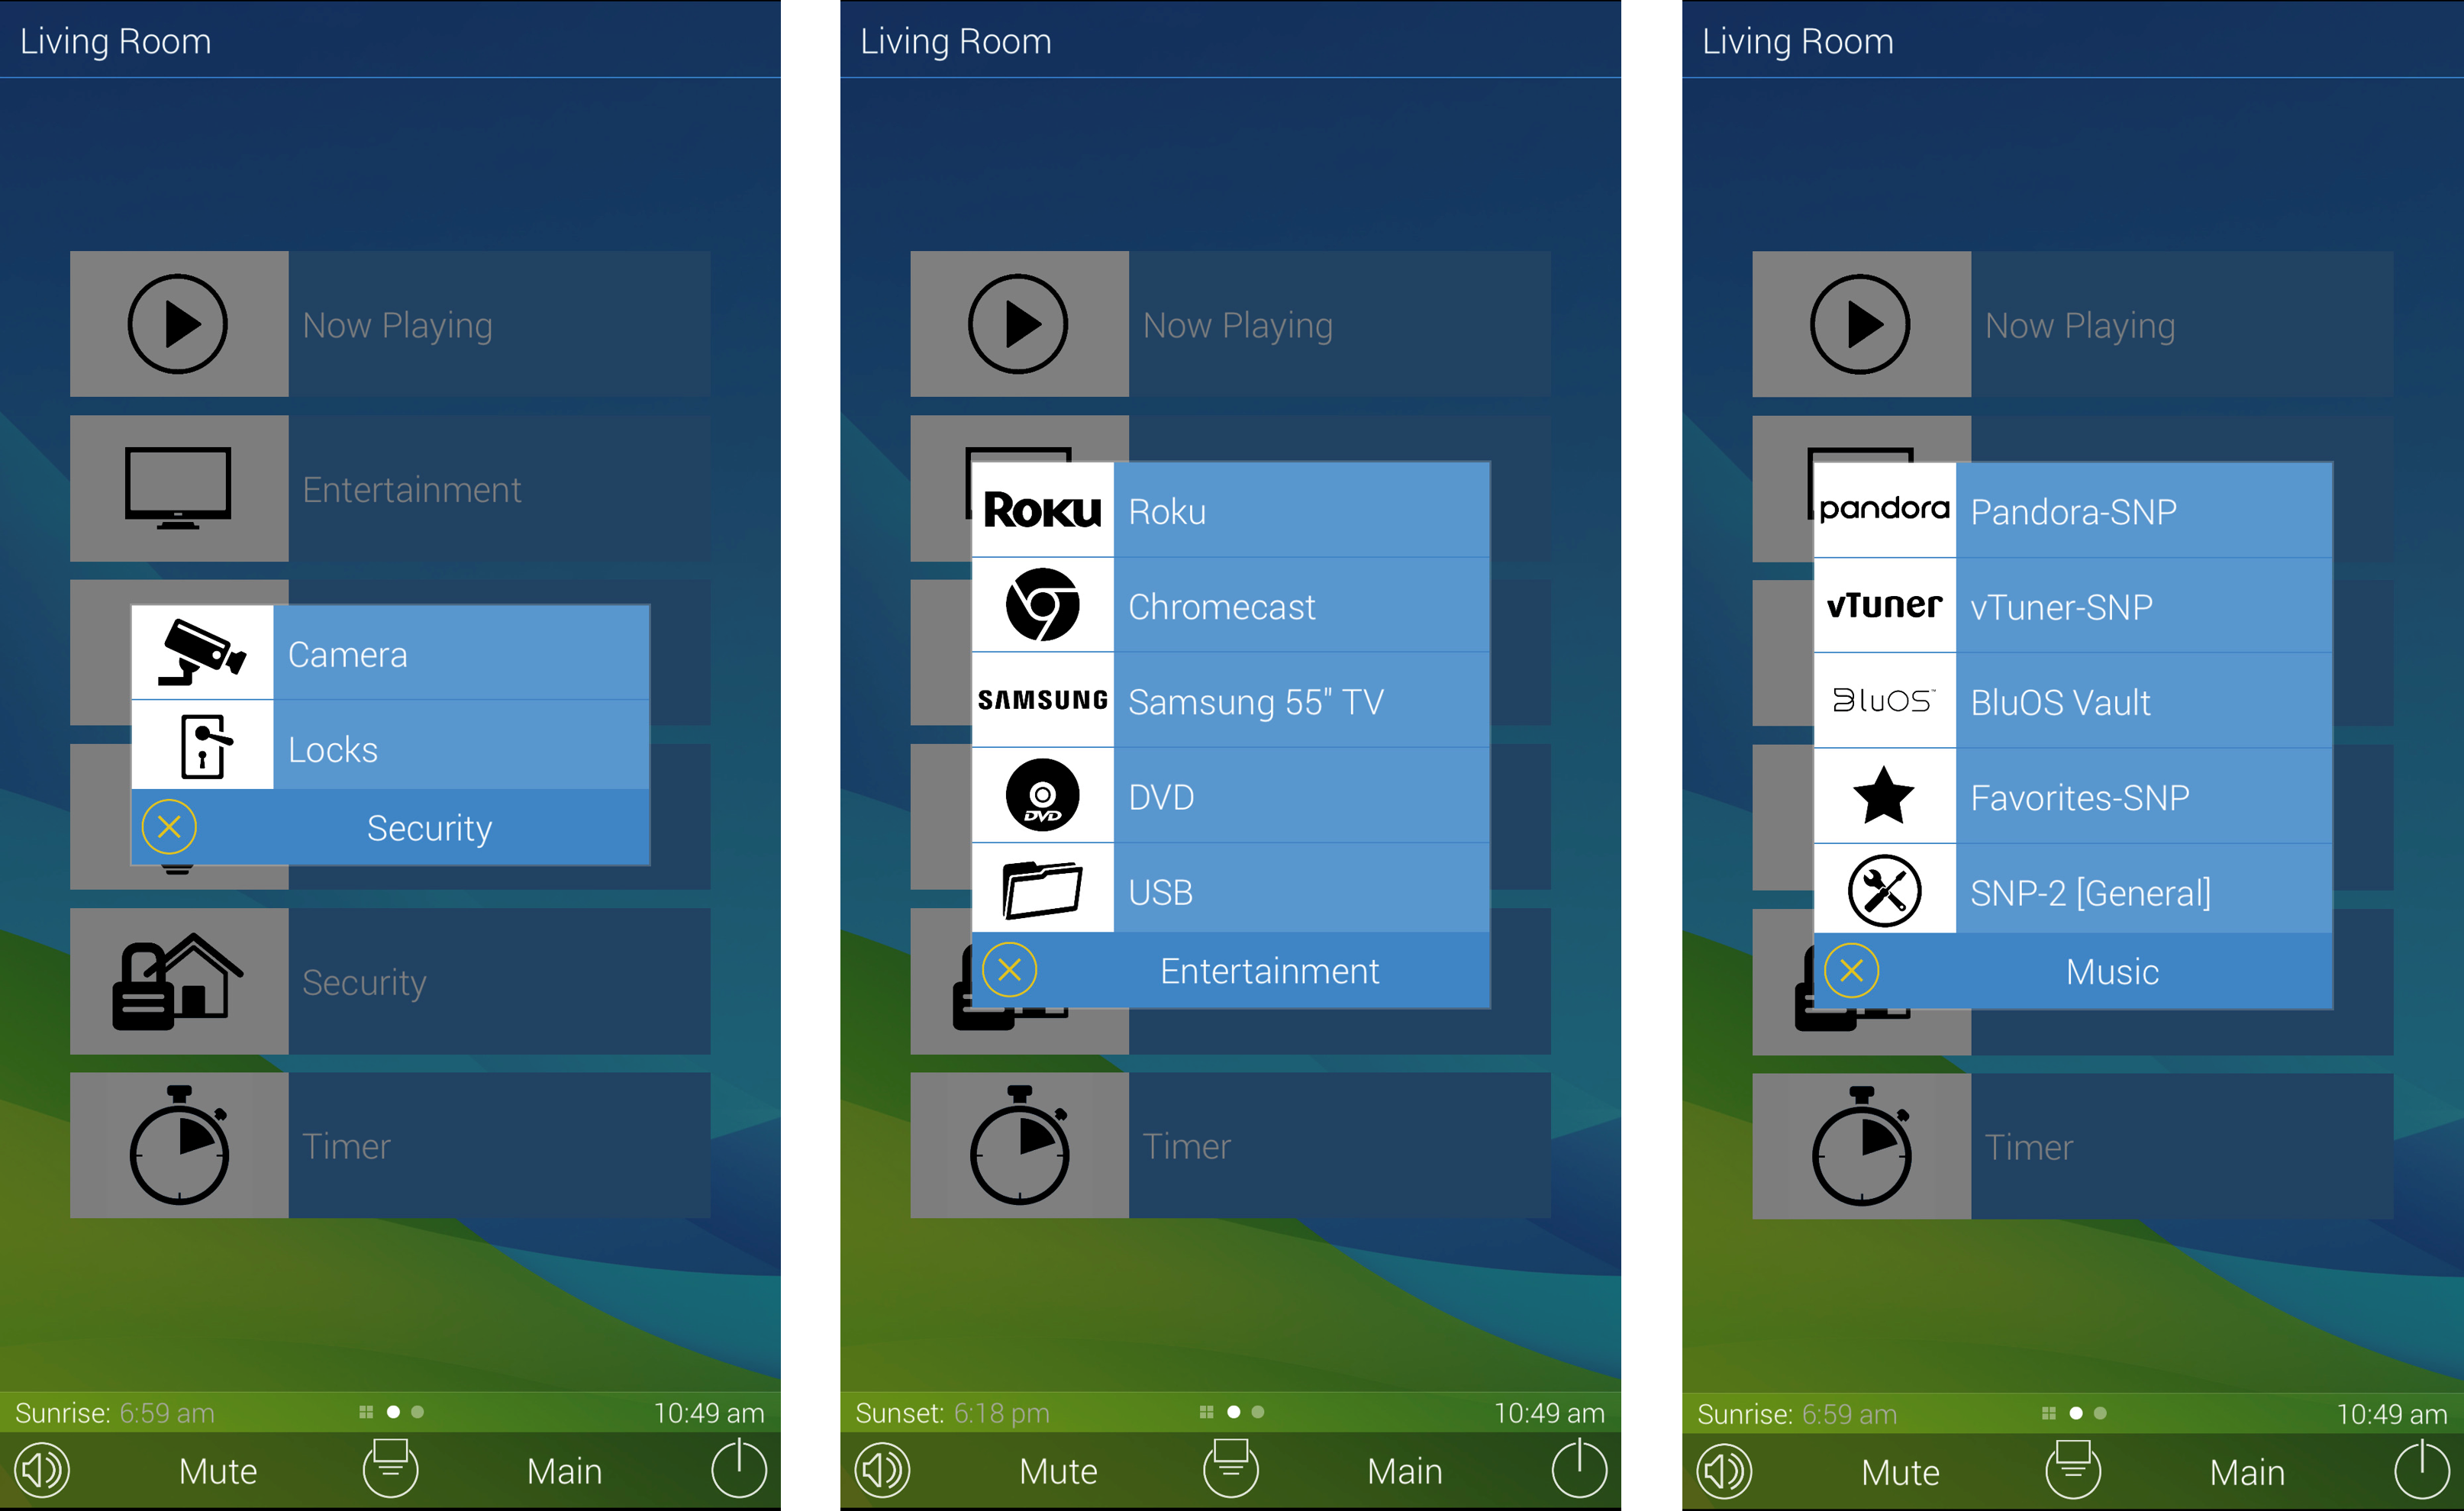
With the colors shown above, the submenus and device menu colors will look like this:
AFTER:
The layout and color scheme after changing the hex values. All of the Device Label Colors are now the same.
After using hex value "3D85C6" for all icons. So, for example "MusicBlackIcon_069683" was changed to "MusicBlackIcon_3D85C6"
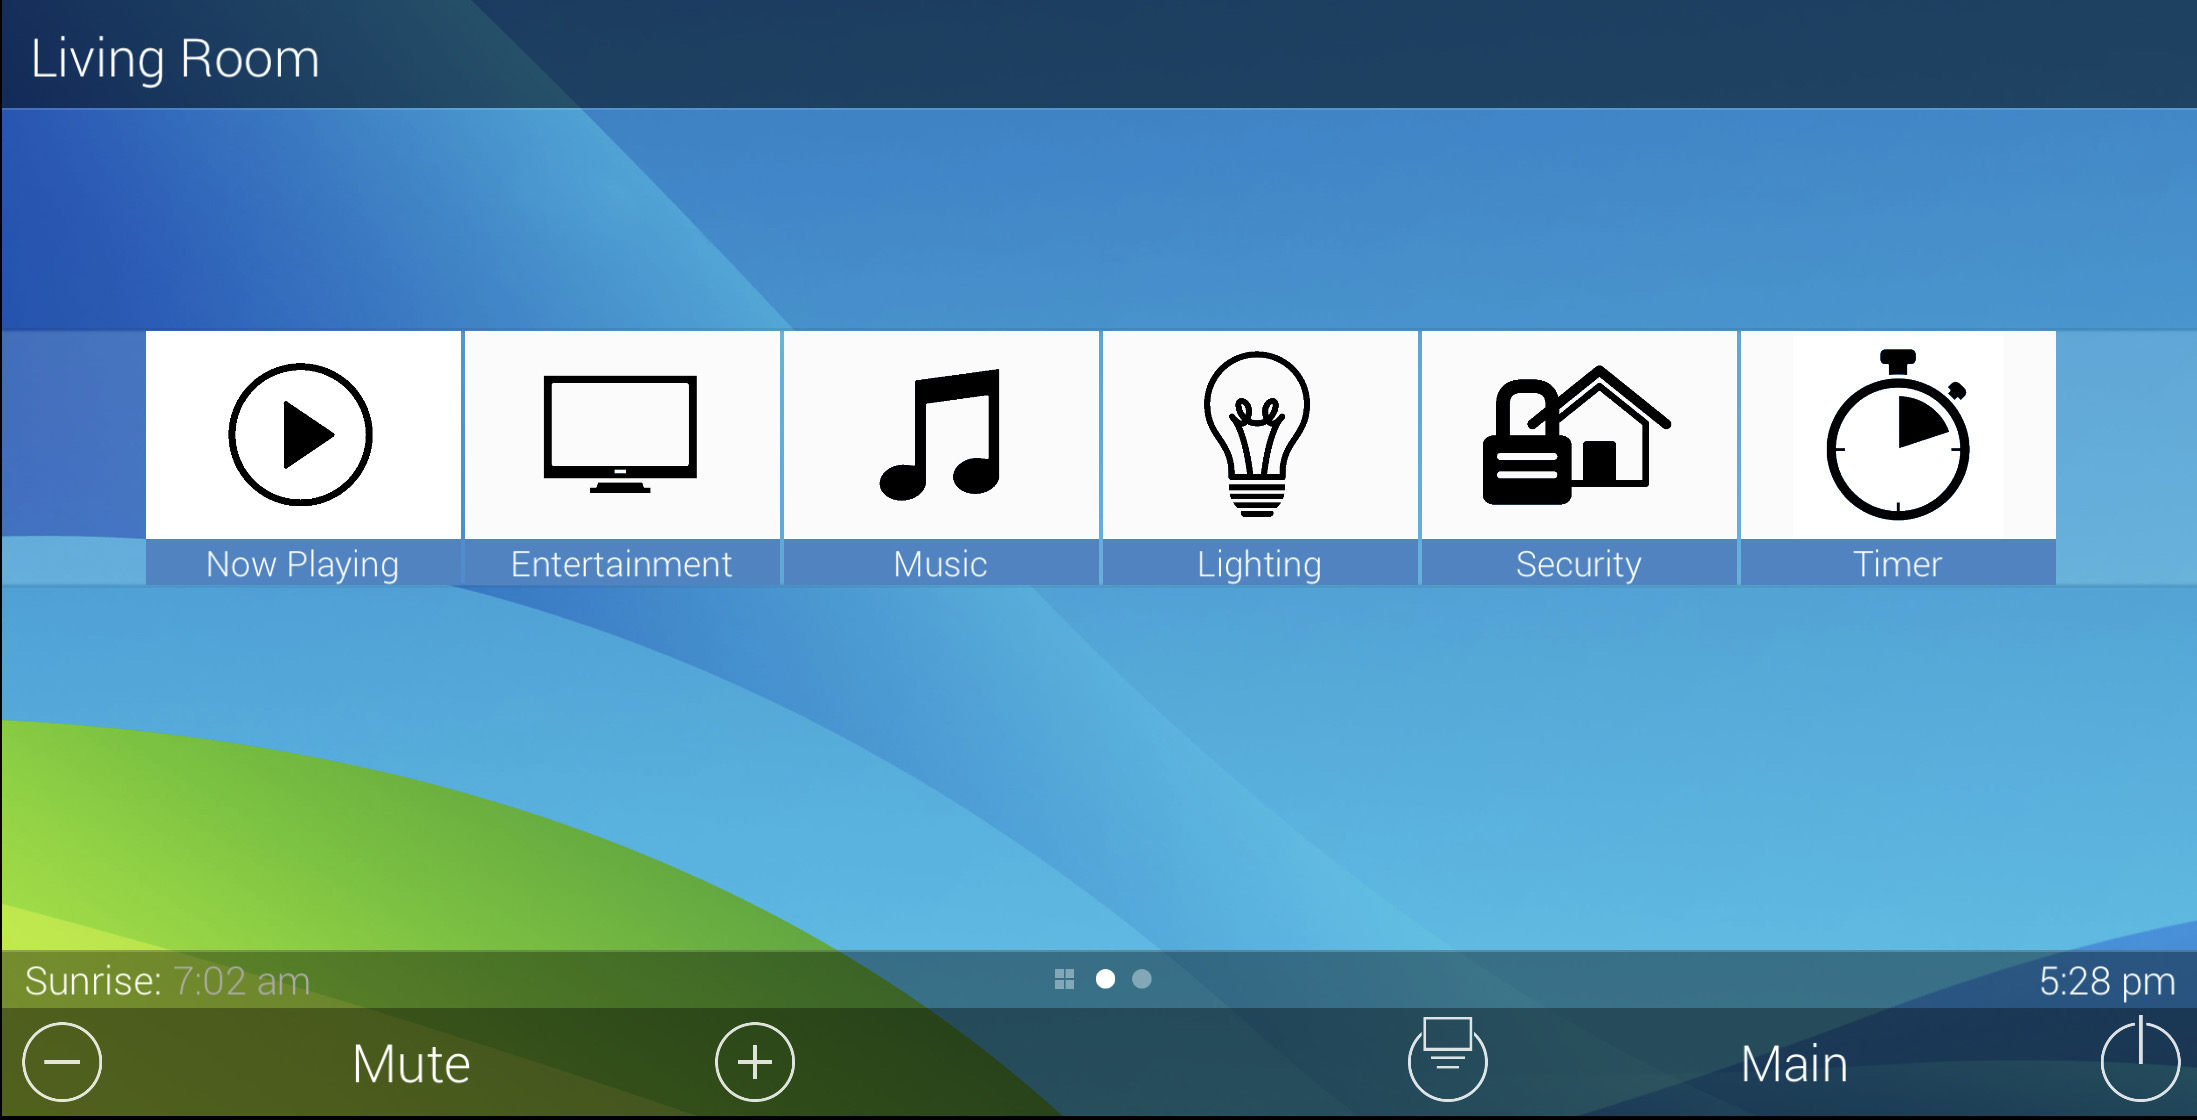 Landscape Mode using hex value 3D85C6
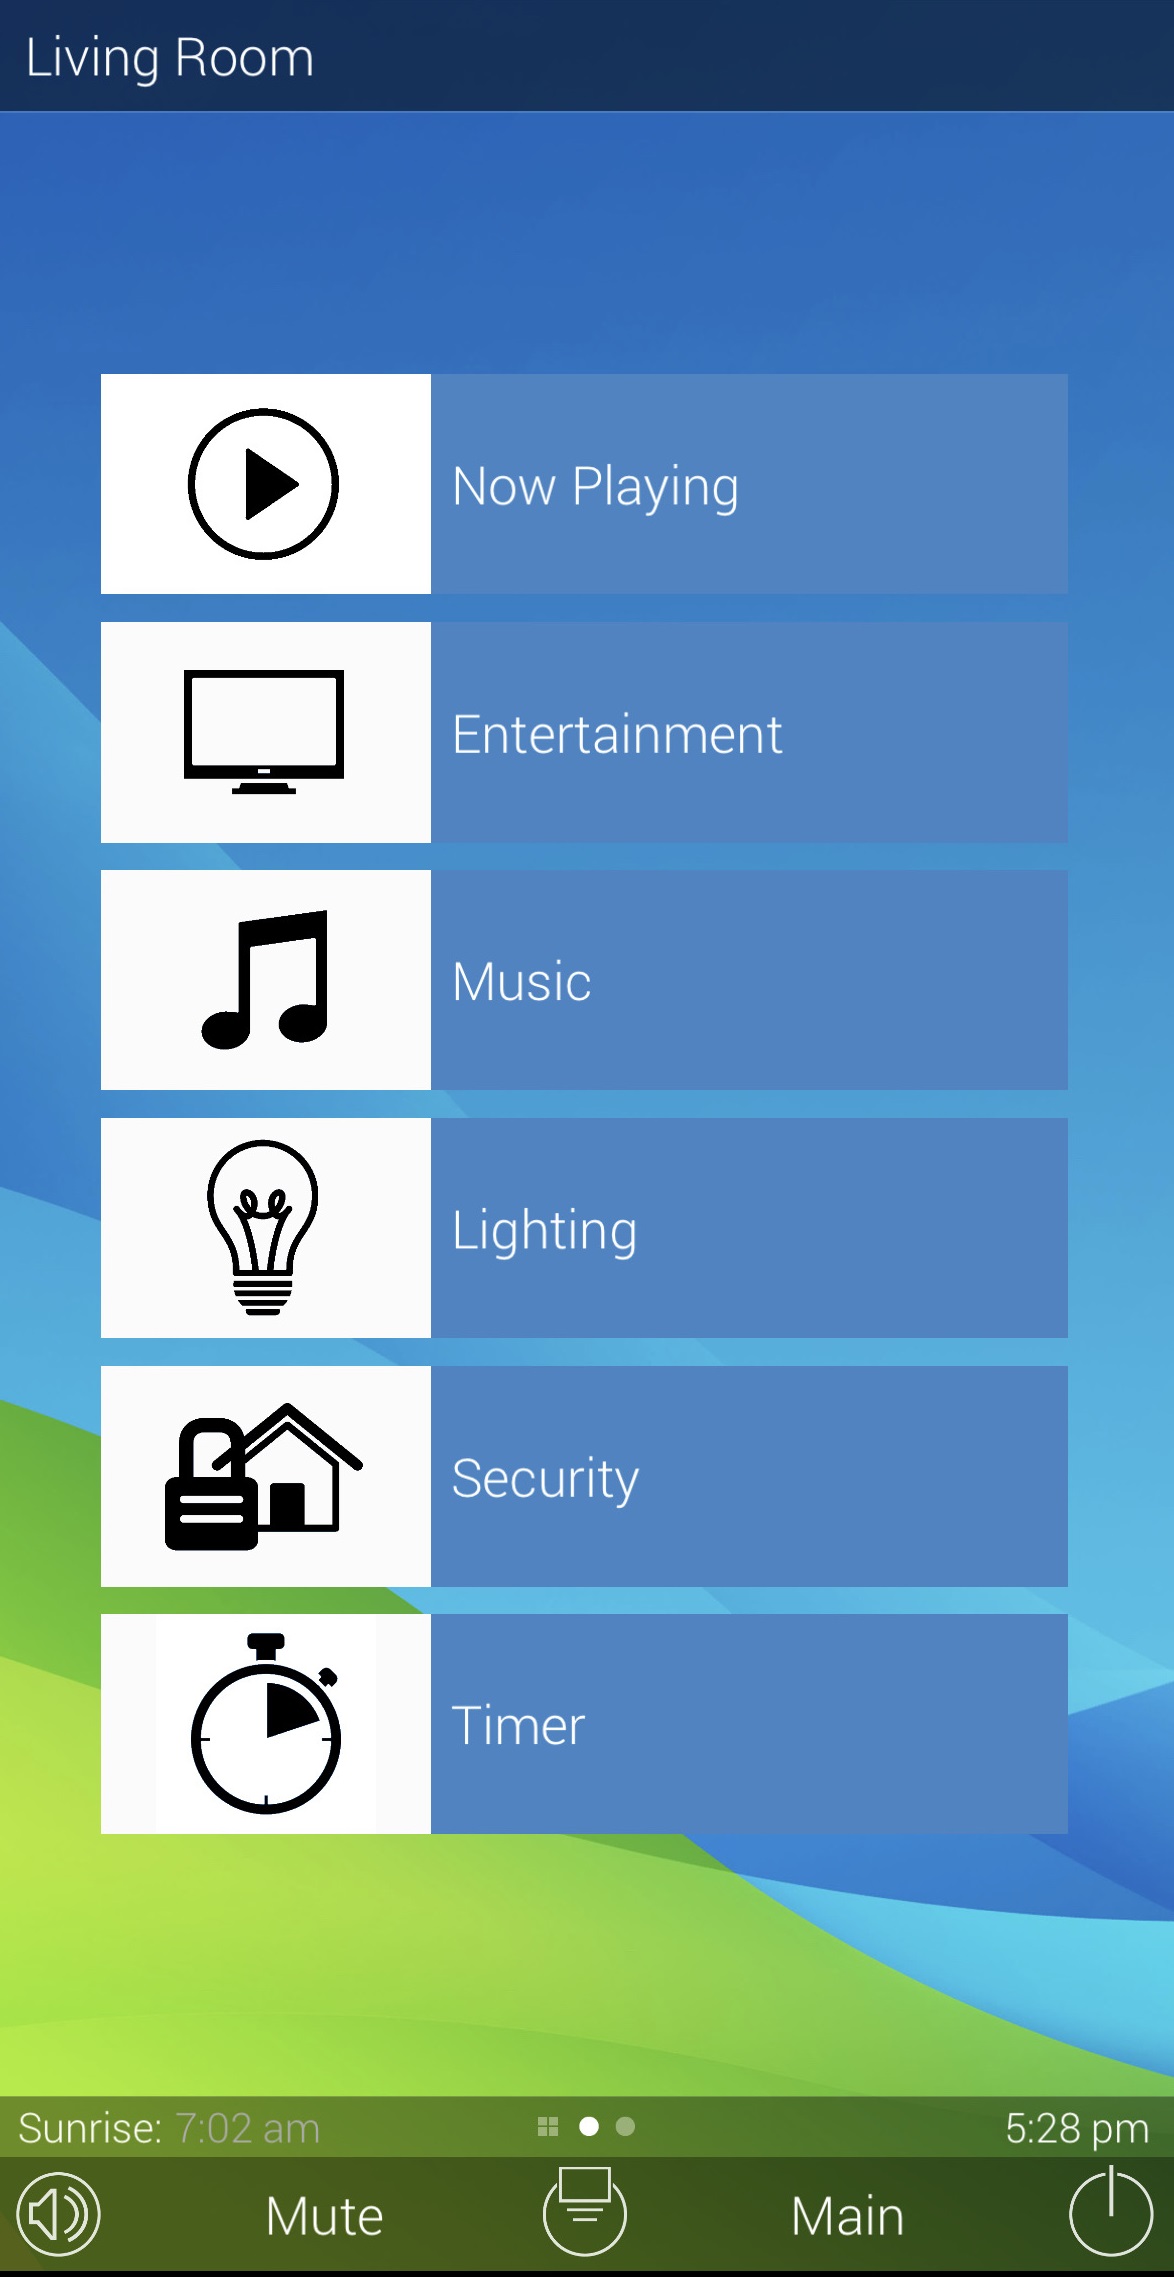 Portrait Mode using hex value 3D85C6
With the new color changes as shown above (all using hex value 3D85C6), the submenus and device menu colors will now look like this:
Hex Code Color Picker Resources:
https://htmlcolorcodes.com
https://www.color-hex.com/#
https://www.rapidtables.com/web/color/RGB_Color.html
Additional Information & Resources:
Please refer to the article Adding Custom Background Images for additional information on adding background images in Accelerator 3.
Download the Total Control Graphics Expansion Pack from the URC Dealer Portal (You must first be logged-in to download the file).
Download the Total Control Flat Vector Icon Sets from the URC Dealer Portal (You must first be logged-in to download the file).
To learn more about Accelerator 3 configuration and programming, please see the Accelerator 3 online Programming Guide.
